flowchart TD
    A("📱 Phone or any browser") -->|HTTPS| B("☁️ Cloudflare Tunnel")
    B -->|http://127.0.0.1:4096| C("🤖 OpenCode Web on the VPS")
    C --> D("📁 Your project files")

    classDef browser fill:#d4e6f9,stroke:#2780e3,stroke-width:2px,color:#343a40
    classDef tunnel fill:#eaddf1,stroke:#8a63a8,stroke-width:2px,color:#343a40
    classDef opencode fill:#d9f0d1,stroke:#3f8f5b,stroke-width:2px,color:#343a40
    classDef files fill:#ffe3d1,stroke:#d17a3d,stroke-width:2px,color:#343a40

    class A browser
    class B tunnel
    class C opencode
    class D files

    linkStyle 0 stroke:#2780e3,stroke-width:2.5px,color:#2761e3
    linkStyle 1 stroke:#2780e3,stroke-width:2.5px,color:#2761e3
    linkStyle 2 stroke:#2780e3,stroke-width:2.5px,color:#2761e3
Note
Recipe for a perfect mobile AI coding agent
Reading Time:5 minutes
Preparing Time:1 hour circa
Difficulty: 🔴🔴⚪⚪⚪
Introduction
Ideas have the inconvenient habit of arriving when I am nowhere near my desk. I might be walking, waiting for the tube, or sitting in a café when I suddenly know how I want to add a feature to a project I am working on. I can put the thought in a notes app, of course, but by the time I return to my laptop, the moment—and often some of the context—is gone.
That is a limitation I wanted to remove. Instead of keeping my AI coding agent only on my laptop, I wanted it running somewhere that never closes its lid. Then, when I have an idea, I can take out my phone, open a browser, and type it directly into an agent that already has access to the project.
Since I already had an Ubuntu VPS on VPSDime, which I chose specifically because it does what it says on the tin, and it provides VPS solutions starting from $6, which is the one I am using, I installed OpenCode there and made its web interface reachable through a password-protected Cloudflare Tunnel. OpenCode and my repositories stay on the server, so I can always connect to them from any browser — including the one on my phone.
The real payoff is having a coding agent at my fingertips: an idea can become a prompt while it is still fresh, wherever I happen to be. In this article, I will show you how I built that setup.
The Goal: OpenCode Wherever I Am
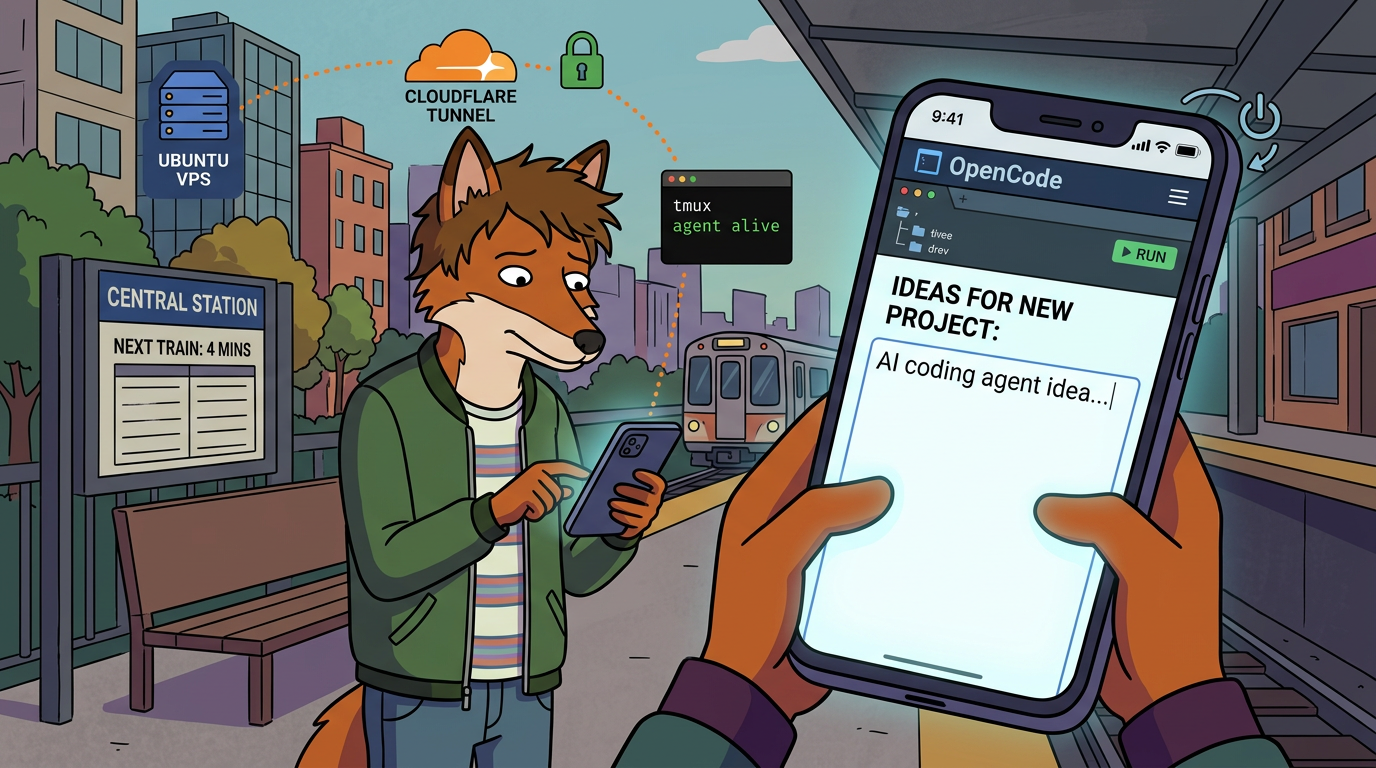
The final setup is simple. My phone does not run OpenCode, store the repository or need a development environment. It only needs a browser:
How traffic reaches OpenCode
OpenCode listens only on the VPS loopback interface. In other words, port 4096 is not opened directly to the internet. The cloudflared process creates an outbound connection to Cloudflare and forwards requests to OpenCode. OpenCode itself adds HTTP Basic Authentication.
From the user perspective, I open it on my phone, enter a request, and OpenCode works against the same files it would see if I were sitting at my laptop. Later, I can open the same interface on a larger screen or reconnect through the terminal.
I do not expect to do a full code review on a small touchscreen. That is not the point. The useful change is that I no longer have to postpone the start of the work. I can capture a bug, ask for an experiment, or describe a feature when it comes to mind; the heavier inspection can happen when I am back at my computer.
In order to follow this step by st guide, you will need:
- An Ubuntu VPS on VPSDime or another provider
- SSH access to it
- An account or API key for an LLM provider supported by OpenCode
tmux, to keep long-running processes alive after disconnectingcloudflared, to reach the web interface remotely
1. Connect to the VPS
After creating the server in the VPSDime control panel, connect to it using the IP address and username provided with your VPS:
ssh your-user@your-vps-ipI also like to apply the available Ubuntu updates before installing anything else:
sudo apt update
sudo apt upgrade -y
Then install the few utilities we will use, if not available on the machine:
sudo apt install -y curl git tmuxYou can quickly check the available storage with:
df -hOpenCode does not run the language model on the VPS unless you deliberately connect it to a local model. The VPS hosts the agent, your repositories and the web server; the model can still be provided by OpenAI, Anthropic, OpenCode Zen or another supported provider. This makes the setup much lighter than self-hosting an LLM.
2. Install OpenCode
The easiest installation method in the official OpenCode documentation is the installation script:
curl -fsSL https://opencode.ai/install | bashOpen a new shell, or reload your shell configuration and verify the installation:
opencode --versionOpenCode supports several model providers. Start the terminal interface once and use /connect to configure the provider you prefer:
opencodeInside OpenCode:
/connectNavigate to the project you want OpenCode to work on and initialise it:
cd ~/path/to/your-project
opencode
Then run:
/initThis lets OpenCode analyse the repository and create an AGENTS.md file with useful project instructions.
3. Start the Web Interface Securely
OpenCode provides two related commands:
opencode servestarts the headless API server.opencode webstarts the server with the browser interface.
During my first attempt I used opencode serve. For a browser-based setup, however, opencode web was more fit for purpose.
Before starting it, set a password. Do not expose an unprotected OpenCode instance: anyone who can reach it may be able to interact with your projects and run tools with the permissions granted to OpenCode.
The following stores the password in a file readable only by your Linux user. It also avoids putting the secret directly into your shell history:
mkdir -p ~/.config/opencode
read -rsp "Choose an OpenCode password: " OC_PASSWORD; echo
printf 'export OPENCODE_SERVER_PASSWORD=%q\n' "$OC_PASSWORD" > ~/.config/opencode/server.env
chmod 600 ~/.config/opencode/server.env
unset OC_PASSWORD
Now start OpenCode inside a detached tmux session. Replace the project path first:
tmux new-session -d -s opencode \
  "bash -lc 'source ~/.config/opencode/server.env; cd ~/path/to/your-project && opencode web --port 4096 --hostname 127.0.0.1'"
This creates a session named opencode, launches the web server and immediately returns control to your shell. There is no need to press Ctrl+B to detach, which is particularly handy when working from mobile SSH clients.
Check that the session exists:
tmux lsYou can inspect it at any time with:
tmux attach -t opencode4. Check That OpenCode Is Healthy
OpenCode exposes a health endpoint at /global/health. Load the stored password and call it locally:
source ~/.config/opencode/server.env
curl -u "opencode:$OPENCODE_SERVER_PASSWORD" \
  http://127.0.0.1:4096/global/health
You should receive a response similar to this:
{"healthy":true,"version":"..."}The default username is opencode; you can change it with OPENCODE_SERVER_USERNAME if you wish. If a request without credentials returns Unauthorized, that is actually good news: the server is alive and the password protection is working.
At this point, OpenCode is running, but it is deliberately available only from inside the VPS. Let us make it reachable without opening port 4096 to the whole internet.
5. Put OpenCode Within Reach of Your Phone
Install cloudflared using the current instructions for your Linux architecture on the official Cloudflare downloads page. Then check that the command is available:
cloudflared --versionFor the first test, start a free Quick Tunnel in the foreground:
cloudflared tunnel --url http://127.0.0.1:4096Cloudflare should print a randomly generated address similar to:
https://some-random-words.trycloudflare.comOpen the URL in your phone’s browser. When prompted, use:
- Username:
opencode - Password: the value you saved as
OPENCODE_SERVER_PASSWORD
You now have the Opencode ready for you: take an idea that would normally end up in a notes app and type it directly into OpenCode. There is no SSH client to navigate and no development environment to squeeze onto the phone. The browser is enough.
You can also save the URL as a bookmark or add it to your home screen for quicker access. Bear in mind that a Quick Tunnel gets a new URL when it restarts; the later section on named tunnels explains the more permanent version of this setup.
6. The Problem I Found With QUIC
My first tunnel was created successfully, but it did not remain connected. The logs contained messages such as failed to serve tunnel connection and showed that cloudflared had selected the QUIC protocol.
Forcing HTTP/2 solved the problem on my VPSDime instance:
cloudflared tunnel --protocol http2 --url http://127.0.0.1:4096This does not mean every VPSDime server will have the same issue. If the default command works for you, keep it. But if the tunnel creates a URL and immediately starts reconnecting, forcing HTTP/2 is a useful test.
7. Keep the Tunnel Running After Logout
Once the tunnel works, start it in a second detached tmux session and save its output to a log file:
tmux new-session -d -s oc-tunnel \
  "cloudflared tunnel --protocol http2 --url http://127.0.0.1:4096 2>&1 | tee -a ~/cloudflared.log"
Find the public URL in the log:
grep -o 'https://[^ ]*\.trycloudflare\.com' ~/cloudflared.log | tail -1You should now have two background sessions:
tmux lsOne runs OpenCode and the other runs the tunnel. You can close the SSH connection and both will continue working.
Test the complete path from the VPS—or from another machine—with:
curl -u opencode https://your-url.trycloudflare.com/global/healthcurl will ask for the password interactively. If the endpoint returns healthy: true, OpenCode, authentication and the tunnel are all working together.
8. Useful Maintenance Commands
To view the OpenCode session:
tmux attach -t opencodeTo follow the Cloudflare logs:
tail -f ~/cloudflared.logTo restart OpenCode:
tmux kill-session -t opencode
tmux new-session -d -s opencode \
  "bash -lc 'source ~/.config/opencode/server.env; cd ~/path/to/your-project && opencode web --port 4096 --hostname 127.0.0.1'"
To upgrade OpenCode and confirm the installed version:
opencode upgrade
opencode --version
Remember to restart the opencode tmux session after an upgrade. The tunnel only forwards requests to the process on port 4096; it does not update that process for you.
To stop everything:
tmux kill-session -t oc-tunnel
tmux kill-session -t opencode
Quick Tunnels Are for Testing
There is one important limitation to mention. Cloudflare describes Quick Tunnels as a testing and development feature. The random URL changes whenever you restart the tunnel, there is no uptime guarantee and Quick Tunnels have technical limits—including no support for Server-Sent Events.
That makes this approach excellent for proving the idea and occasional personal access, which was my initial goal. For the true “always at my fingertips” version, the next step is a named Cloudflare Tunnel connected to your own domain, ideally protected by Cloudflare Access. A fixed address can live on your phone’s home screen instead of changing after every restart. I would also replace the two tmux sessions with systemd services so both processes restart automatically after a reboot.
Final Thoughts
The best part of this experiment is not that OpenCode runs on a VPS. It is the change in distance between having an idea and doing something with it.
My repositories stay on the server and OpenCode keeps running when my laptop is closed. If an idea arrives while I am away from my desk, I can pull out my phone, open the web interface and type the request immediately. When I return to a computer, the project and the conversation are already there.
The part I like most is that the architecture remains understandable. OpenCode runs locally on the VPS. Cloudflare provides the route. Basic Authentication protects the application. tmux keeps the processes alive.
This is still a personal development setup rather than a production platform. An AI coding agent can read files and execute commands, so use a dedicated, least-privileged Linux user, review OpenCode’s permissions carefully, keep your VPS updated and never publish the server without authentication.
That is what makes this setup worth keeping: OpenCode no longer lives on the device I happen to be carrying. It waits on the VPS, and the next idea is only a browser tab away.